Every youth goalkeeper dreams of the moment they leap to palm a rocket shot over the crossbar, but that reflex doesn’t appear by accident. It’s built through deliberate, age-specific ball control drills that teach the body to react before the brain even registers the ball’s flight. The best coaches know that young keepers need more than just repetition; they need structured progression that matches their youth soccer training and cognitive readiness. A six-year-old’s hands are too small for a size-five ball, and their attention span won’t survive a 30-minute barrage of long-range strikes. Start with soft, close-range tosses that focus on hand-eye coordination, then gradually introduce power, angles, and game-like pressure. The goal isn’t just to stop shots, it’s to build confidence so that when the moment arrives in a real match, the keeper’s first instinct is to attack the ball, not flinch away from it.
Why Shot Stopping Drills Must Evolve with Age Groups
U6 keepers should never face a driven shot from 18 yards out. Their bones are still forming, and their reaction time is roughly twice as slow as a 12-year-old’s. Instead, use a size-three ball and have them catch gentle underhand tosses from three yards away. The focus here is on basic hand shape, thumbs together for high balls, pinkies together for low ones, and tracking the ball all the way into the hands. By U9, you can introduce short, controlled volleys from five yards, but keep the pace below 40 mph. At this stage, the communication drills should include a verbal cue like “keeper” to simulate game communication. U12 players can handle driven shots from 12 yards, but only after they’ve mastered the fundamentals of youth soccer for low strikes. The key is to match the drill’s intensity to the child’s physical and neurological development, not the coach’s desire to see a highlight-reel save.
Many coaches make the mistake of skipping foundational drills once a keeper turns double digits. A U14 player who can’t consistently catch a bouncing ball at their feet will struggle when faced with a driven shot that skips off wet turf. Always circle back to basics before advancing to more complex scenarios. For example, a U14 session might start with 10 minutes of low, bouncing catches, then progress to angled shots from 16 yards, and finish with a game-like sequence where the keeper must react to a rebound off the post. This layered approach ensures that muscle memory is solid before pressure is added.
Essential Hand Positioning for Every Type of Shot
Hand positioning is the difference between a clean catch and a costly parry. For high shots, the hands should form a relaxed W shape, with the thumbs nearly touching and the fingers spread wide enough to cradle the ball. Young keepers often make the mistake of locking their elbows, which reduces mobility and increases the chance of the ball popping out. Instead, teach them to keep a slight bend in the elbows, allowing the hands to absorb the ball’s momentum. Low shots require a different approach: the hands should form a reverse W, with the pinkies almost touching and the palms facing upward. This position creates a secure pocket for the ball and prevents it from slipping through the fingers.
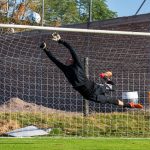
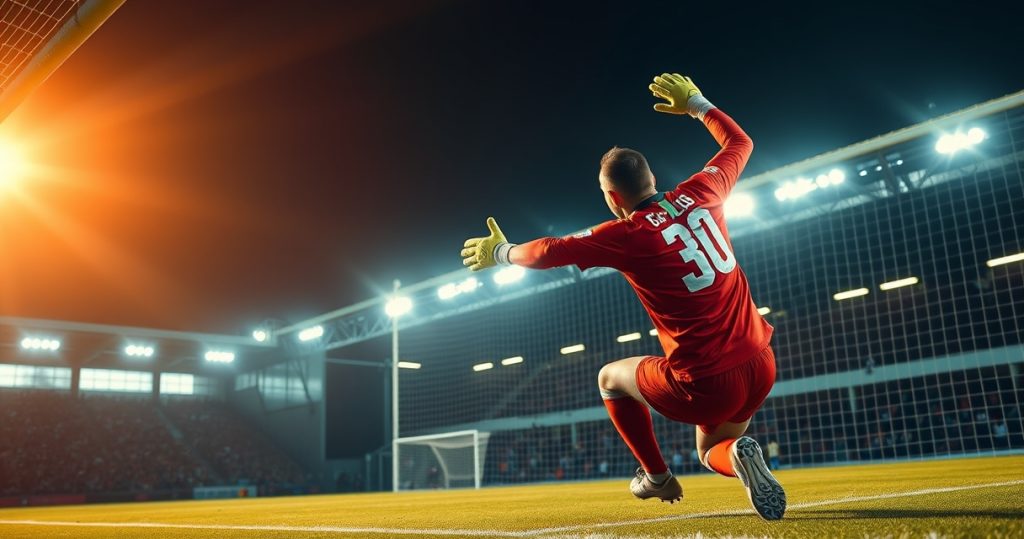
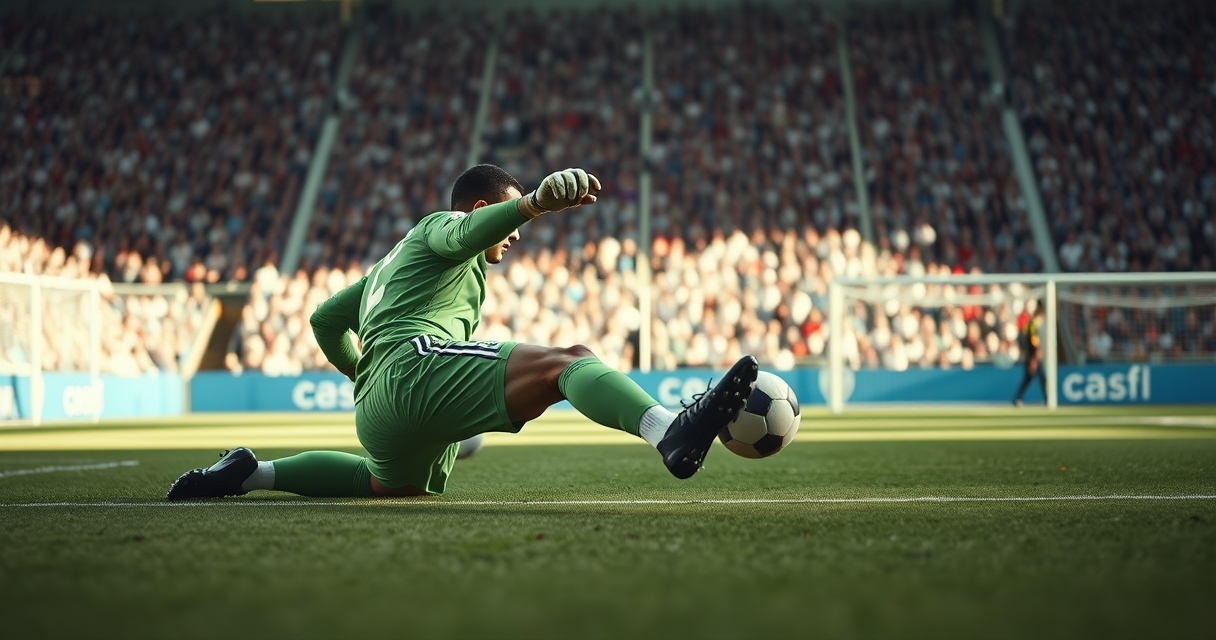
Diving saves add another layer of complexity. When going to ground, the keeper should lead with the near hand and use the far hand to cover the ball once it’s secured. A common error is reaching with both hands simultaneously, which leaves the ball exposed if the initial contact isn’t perfect. For shots at waist height, the hands should meet in front of the body with the palms facing the ball, forming a diamond shape. This technique is especially useful for shots that dip late, as it allows the keeper to adjust mid-flight. Drills should include a mix of high, low, and waist-height shots to reinforce these positions, with coaches providing immediate feedback on hand shape after each attempt.
Rebounds are where many young keepers lose focus during goalkeeping drills. After making the initial save, they often relax their hands, allowing the ball to squirm free. Teach them to “smother” the ball by bringing it into their chest immediately after contact, using their body as a second barrier. A simple drill for this involves a coach firing a shot at the keeper’s chest, then quickly following up with a second shot to force a reaction. The keeper must secure the first ball before dealing with the second, reinforcing the habit of controlling rebounds rather than hoping for the best.
Footwork Patterns That Set Up the Save
Footwork is the unsung hero of shot stopping. A keeper who’s flat-footed when the shot is taken will always be a step behind, no matter how quick their reflexes are. Start with the basic “set position”: feet shoulder-width apart, knees slightly bent, weight on the balls of the feet, and hands ready in front of the body. From here, the keeper should practice small, quick steps to adjust their angle as the shooter approaches. A common drill is the “ladder shuffle,” where the keeper moves laterally across the goal line in response to the coach’s cues, always ending in the set position before a shot is taken.
For shots from wide angles, the keeper needs to use a crossover step to cover ground quickly. This involves stepping across the body with the near foot, then pushing off with the far foot to drive toward the ball. Many young keepers make the mistake of backpedaling, which slows them down and leaves them off balance. A drill to correct this is the “angle adjustment” exercise: place cones at the near post, penalty spot, and far post. The keeper starts at the near post, then shuffles to the penalty spot and back before reacting to a shot from the far post. This forces them to move forward and laterally, rather than retreating.
When the shot is taken from close range, the keeper should use a “quick step” to close down the angle. This means taking a small, explosive step toward the ball as it’s struck, reducing the shooter’s target. A useful drill for this is the “1v1 reaction time drill”: the keeper faces a shooter from six yards out, with the coach calling out “shoot” at random intervals. The keeper must react by stepping forward and narrowing the angle before the shot is taken. This drill also helps with decision-making, as the keeper learns to read the shooter’s body language and anticipate the strike.
Drills That Simulate Game-Like Pressure
Static drills build technique, but game-like pressure reveals weaknesses. One of the most effective drills for this is the “three-shot sequence.” The keeper faces three shooters in quick succession, each taking a shot from a different angle and distance. The first shot is a low drive from 12 yards, the second is a high cross from the wing, and the third is a one-on-one situation from eight yards. The keeper must reset quickly between shots, maintaining focus and footwork. This drill mimics the chaos of a real match, where saves often come in clusters rather than isolated moments.
Another high-pressure drill is the “rebound challenge.” The coach fires a hard shot at the keeper, who must make the save and then immediately react to a second shot from a trailing attacker. The key here is to teach the keeper to prioritize securing the first ball before worrying about the second. Many young keepers panic and try to clear the ball too quickly, leading to weak parries that gift the opponent a second chance. By repeating this drill with varying shot power and angles, the keeper learns to stay composed under pressure and make smart decisions with the ball at their feet.
For older age groups, the “penalty shootout under fatigue” drill adds a physical challenge. The keeper performs a series of agility exercises, shuttle runs, burpees, or ladder drills, before facing five consecutive penalty kicks. The idea is to simulate the fatigue of a match’s final minutes, where concentration often wavers. The keeper must rely on technique and muscle memory rather than pure reaction speed. Coaches can increase the difficulty by adding distractions, such as shouting or waving arms, to test the keeper’s mental resilience.
Common Mistakes and How to Fix Them
One of the most frequent errors young keepers make is “standing tall” when facing a shot. This happens when the keeper straightens their legs and leans back, which reduces their ability to react to low or bouncing balls. The fix is simple: keep the knees bent and the weight forward, even when the shot is high. A drill to reinforce this is the “low-ball challenge,” where the coach rolls or bounces balls at the keeper’s feet, forcing them to stay low and use their hands to scoop the ball up. Over time, this builds the habit of maintaining a low center of gravity, which is essential for making saves at any height.
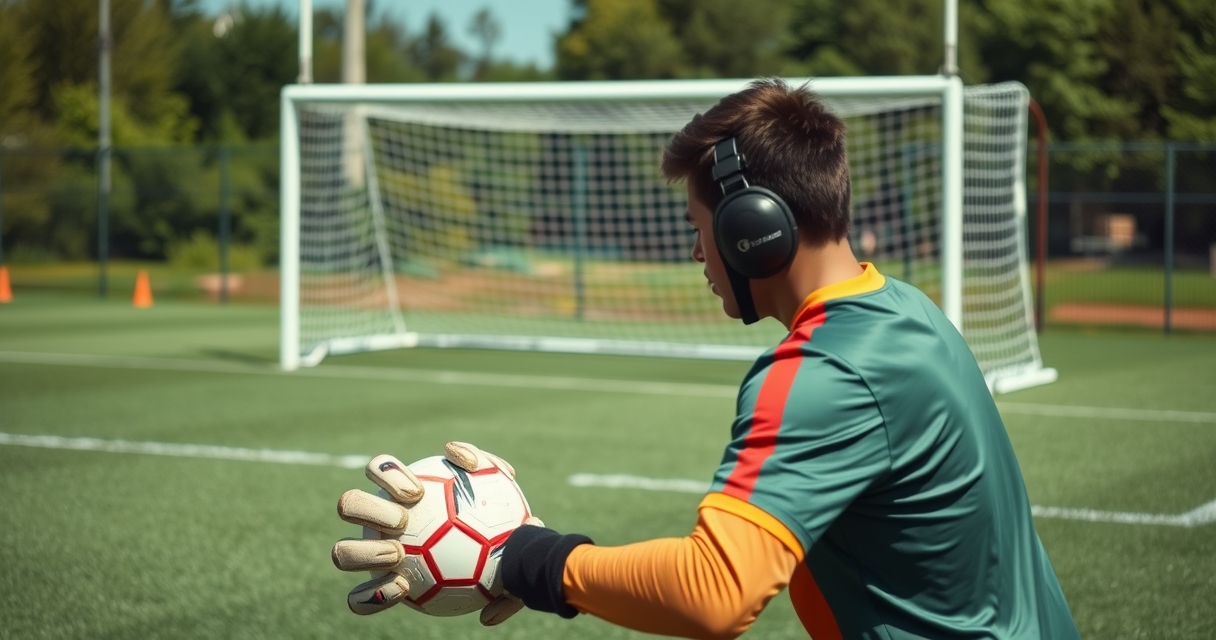
Another common issue is “reaching too early.” Young keepers often extend their arms toward the ball before it’s within catching range, which leaves them off balance and unable to adjust if the shot changes direction. The solution is to teach them to wait until the ball is within a yard of their body before making contact. A useful drill for this is the “delayed reaction” exercise: the coach holds the ball at arm’s length and moves it unpredictably before releasing it. The keeper must track the ball’s movement without reaching, then make the save at the last possible moment. This drill also improves hand-eye coordination and patience.
Finally, many keepers struggle with “overcommitting” on shots from wide angles. They dive too early, leaving the near post exposed, or they take a step toward the ball before it’s struck, which opens up space behind them. To fix this, use the “post-to-post” drill: place two cones at the near and far posts, and have the keeper move between them in response to the coach’s cues. The coach then takes shots from various angles, forcing the keeper to hold their position until the last second. This teaches them to cover the goal efficiently without overreacting to feints or dummy runs.
Equipment That Enhances Shot Stopping Practice
Not all equipment is created equal when it comes to shot stopping drills. A size-four ball is ideal for U10-U12 keepers, as it’s large enough to challenge their hands but not so big that it overwhelms them. For U14 and older, a size-five ball is standard, but coaches should avoid using overly hard or slick balls, which can bruise hands and reduce confidence. Rebound nets are another valuable tool, as they allow keepers to practice reaction saves without needing a partner. A good rebound net should have adjustable tension, so the ball returns at different speeds and angles.
Agility ladders and hurdles are essential for footwork drills. A simple setup involves placing a ladder in front of the goal and having the keeper perform quick feet exercises before reacting to a shot. This combines physical conditioning with shot stopping, making the drill more efficient. For reaction training, reaction balls, small, irregularly shaped balls that bounce unpredictably, are excellent for improving hand-eye coordination. These can be used in warm-ups or as part of a circuit that includes catching, diving, and footwork.
Finally, don’t underestimate the value of a good pair of goalkeeper gloves. For young keepers, gloves with extra padding in the palms can help absorb the impact of hard shots and reduce the risk of injury. Look for gloves with a snug fit to ensure maximum control, and avoid those with excessive grip, which can make it harder to release the ball quickly. For training, consider using slightly worn gloves, as they provide a more realistic feel than brand-new ones. This helps keepers adapt to the conditions they’ll face in matches, where gloves often lose some of their grip over time.

I’ve been playing soccer since I was a kid and love breaking down drills to help players improve. When I’m not on the pitch, I enjoy analyzing games and sharing practical tips with fellow enthusiasts.